If you want to capture the screen on your Macbook air, such as maybe a menu from a cafe you wish to visit or a part of a web page to generally share with someone else, or, perhaps you want to screen record on Macbook air. Both tasks are easy, so here we'll show you how to screen record on Macbook air.
Here's how to screen record on macbook air through Mojave:
Screen recording on Macbook Air became a lot easier with macOS Mojave which comes in September 2018. There's a Screen Record tool in the brand new screenshot toolbar.
1 Firstly you have to open the screenshot toolbar by pressing the "Command + Shift + 5."
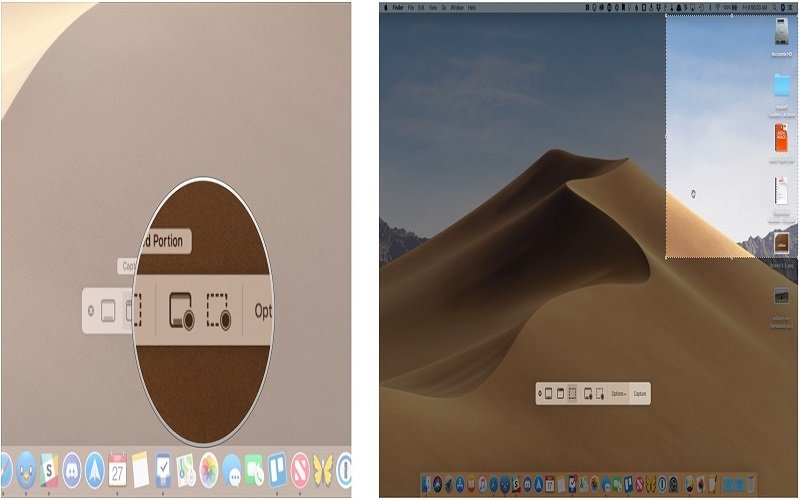
2 You can easily Record Entire Screen or Record Selected Portion. Pick the one which you require.
3 If you decide to Record Entire Screen, click the Record button that appears beside Option.
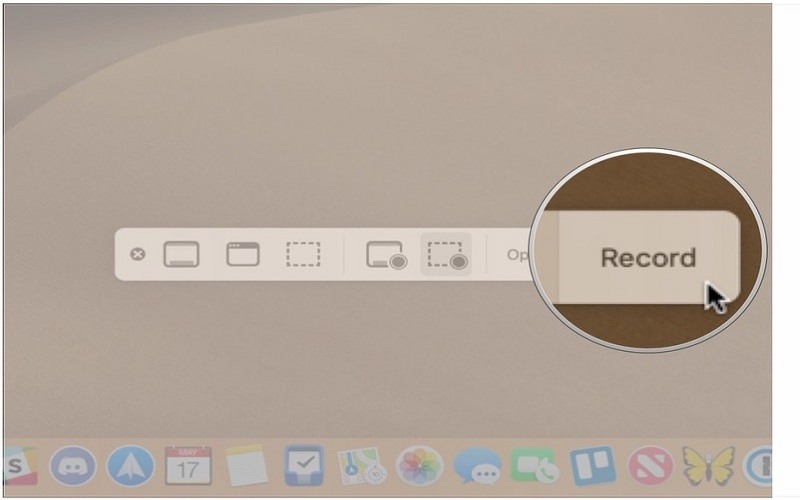
4 If you have multiple screens, then click and hold on the button and you will discover the option Screen 1 and Screen 2.
5 If you want to record a part of the screen, select that area before triggering the recording.
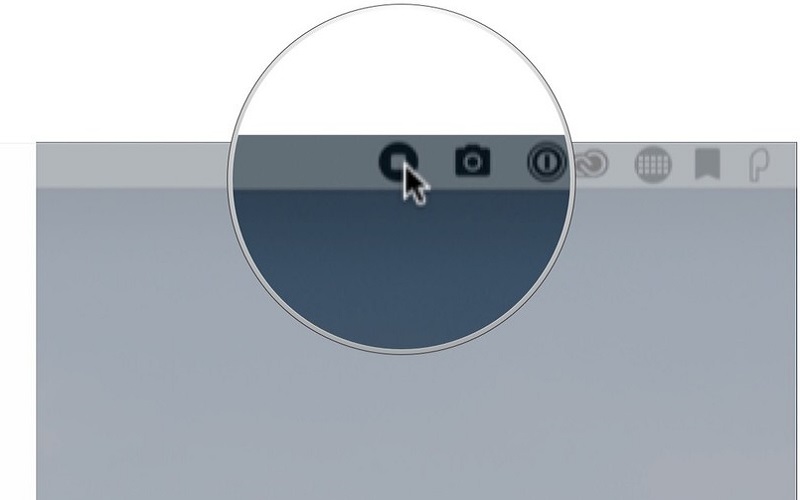
6 When you finished everything you wanted to record, click on the stop button which appears in the Menu bar (besides the timer), or press Shift+ Command + 5 again and then press the stop button in the menu.
7 The recording will be in the bottom right corner of the screen. Click it to open the video in Quick Look.
8 To edit your video clip, click the trim button that appears beside Done.
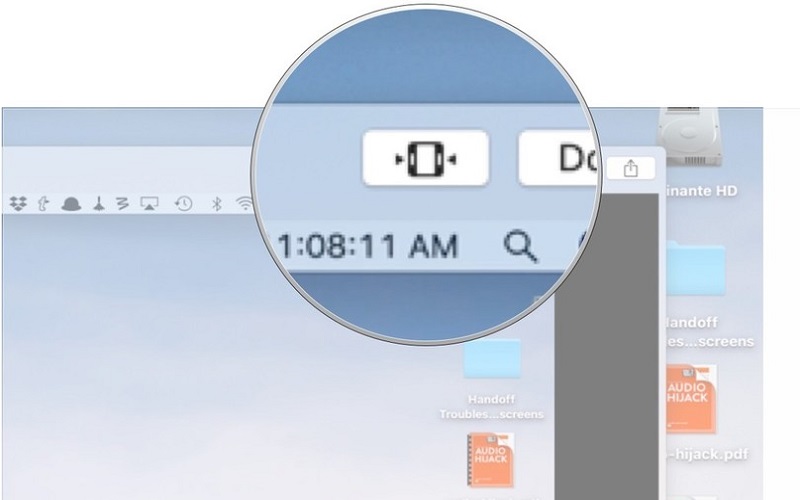
9 To trim the video clip, hold the yellow points in the beginning & end of the recording and drag them inwards.
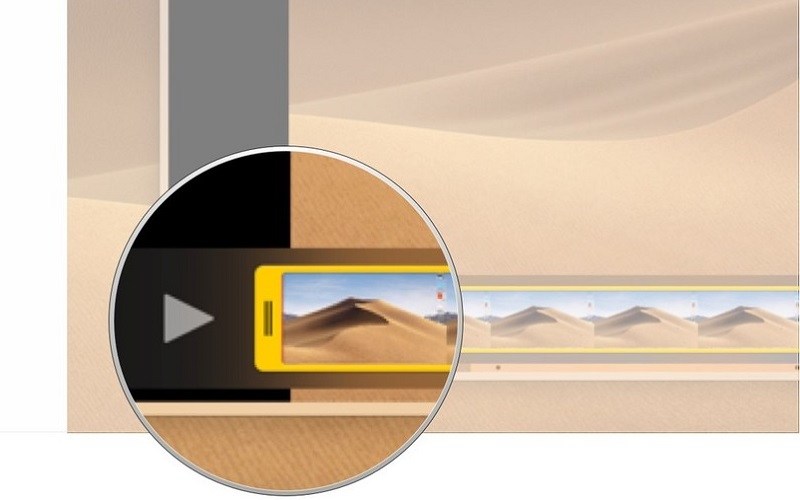
10. Click Done.
Here’s how to screen record on Macbook Air through QuickTime
QuickTime Player comes free along with your macbook air. If you have an older Mac, or the keyboard shortcuts don't work for you, then this option to reacord screen using QuickTime app, will work for you, here are the steps to follow for this:
1 Open QuickTime Player. To find and open the app, press Command+Space to trigger Spotlight and start typing QuickTime.
2 Select New Screen Recording from the menu by right-clicking on the QuickTime Player icon.
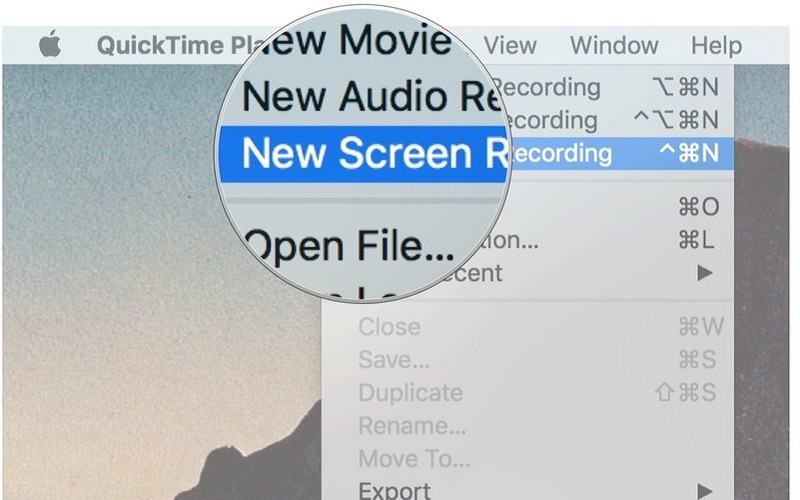
3 Now a Screen Recording box will pop up on your screen.
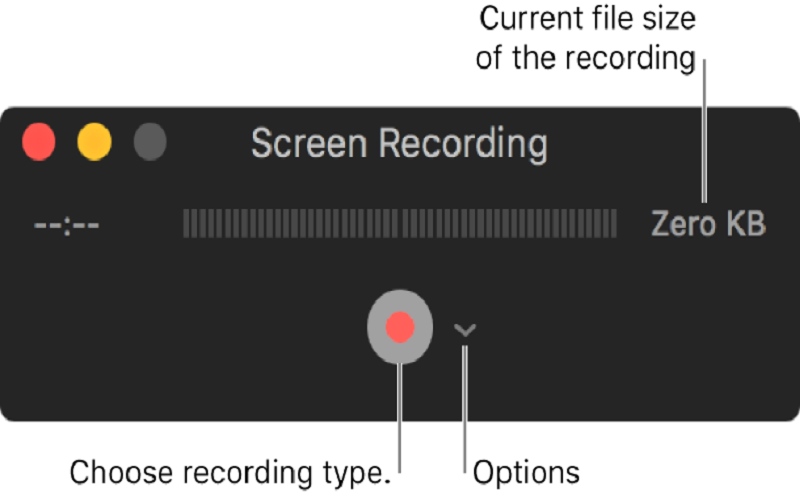
4 Click the white down arrow to see more options, like the opportunity to utilize the built-in microphone or an external microphone for audio.
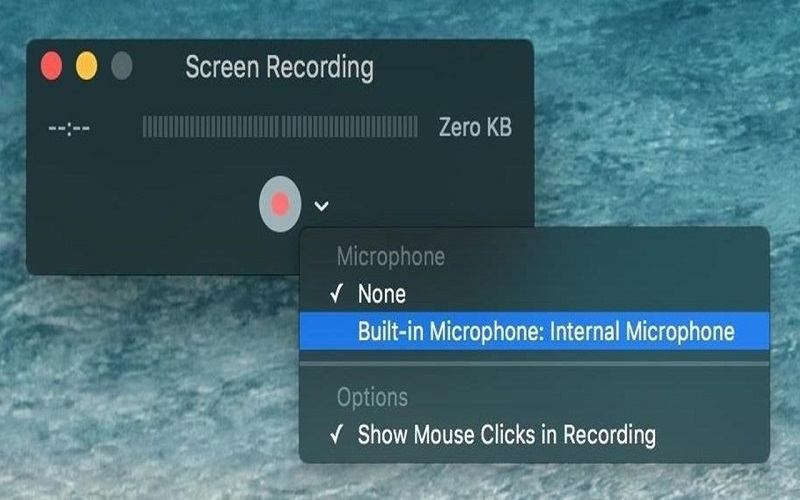
Note, you won't be able to record audio from videos playing on your screen this way.
5 There's also an alternative to select whether your mouse clicks should appear throughout the recording. It is off by default.
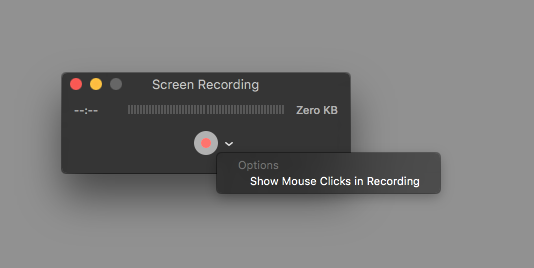
6 Once you are willing to screen record on macbook air, you can choose the recording area of the screen or the entire screen. If you would like to record the selected area of the screen, then click on the red record button. You will see a message that informs you to drag to record part of the screen, so drag a marque across the area you wish to capture. Once you selected the area, click the record button again.
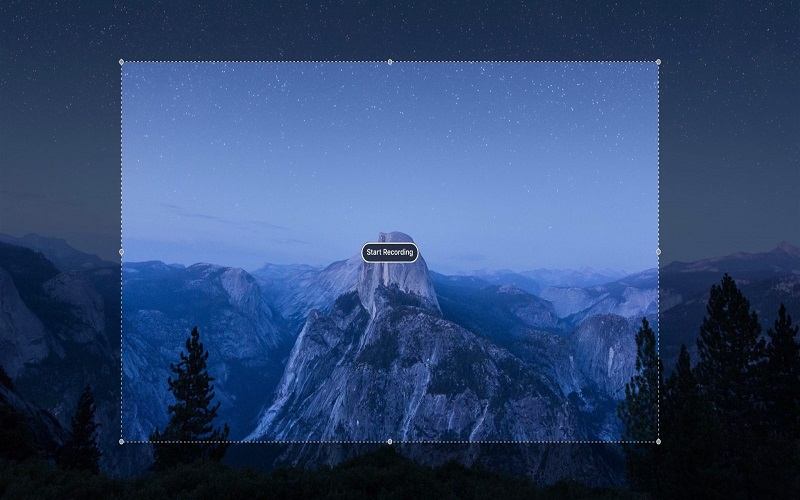
7 Alternatively, you can also record the entire screen. Just click the red record button and then click the screen anywhere to start recording.
8 Once you're ready to finish the recording, right click on the QuickTime icon in the Dock and choose Stop Recording from the menu.
9 Save the QuickTime movie.
You can use this footage in iMovie and Final Cut Pro, and even share it directly to YouTube.
You may also like to read:
Top 5 Best Screen Recorders For Mac (Free)
how to use PS3 controller on pc Windows 10?
How To Check Which Apps Are Tracking Your Location On iPhone?