
In previous article, I mentioned How to Check Motherboard Version with cmd and PowerShell but in this article I have mentioned how to fix "drag and drop not working in Windows 11" issue or you can say how to enable drag and drop in Windows 11.
Drag-and-drop is a Windows feature for moving files from one folder or app to another. It enhances the movement of computer files since you only need to click on the desired file and drag it across the PC screen to the desired destination.
The drag and drop option supports both folder-to-folder and folder-to-app movements of files. It lets you move files from one folder to another or from a folder to an app.
However, this tool is missing in Windows 11, which has worried several Windows 11 users. This post addresses why the drag and drop option is not working in Windows 11 and how to fix it.
Why is the Drag and Drop Option not Working in Windows 11?
The drag and drop feature is not available in Windows 11 because Microsoft has permanently removed it from its latest version of Windows. The technology corporation affirmed that the drag-and-drop feature is not available in Windows 11, but they may introduce it later.
Now that we know that the add and drop feature is officially absent in Windows 11, let us see how to fix this issue and turn things around.
How to Fix Drag and Drop not working in Windows 11
The add-and-drop feature is not the last option to move files in Windows 11. Let us see other options that will help you achieve the same goal.
Using Alt + Tab Shortcut Keys
You can fix the drag and drop not working issue in Windows 11 using the Alt + Tab shortcut keys combinations. It is one of the best and oldest alternatives for drag-and-drop in Windows. Here are the steps below:
- Navigate to the location of the file or folder you want to move.
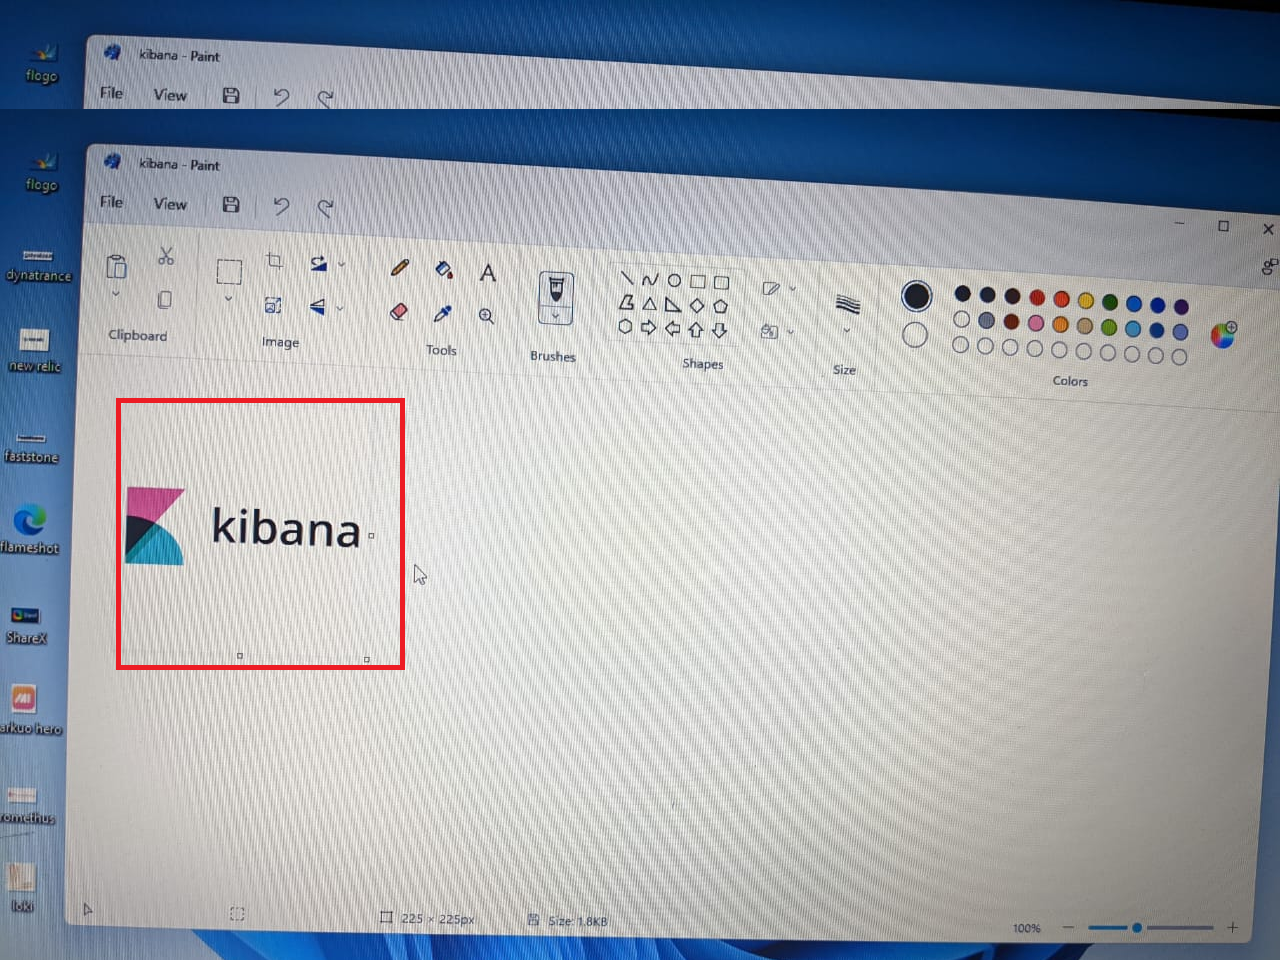
- Click on the file or folder. Then, press and hold the left click. Here we will use a picture file (Kibana logo)

- While holding the left click, drag the file or folder a little to activate the grab mode, and do not release the left click.

- While in the grab mode, still holding the left click, press the Alt + Tab key combinations on the keyboard and hold down the Alt key.
- The Alt + Tab menu will become active, and you will see the list of the available windows.

- Press the Tab button repeatedly (still holding down the left click and the Alt button) until you get to the window you want to drop the item you dragged.
- When you get to the desired window, release the Tab button first, then the Alt key but hold the left click still. The selected window will become active on the PC screen, and you should be able to drag the file or folder you want to move to any point in the window.
- Release the left click if you have dragged the file or location to the desired location.
Split Screen
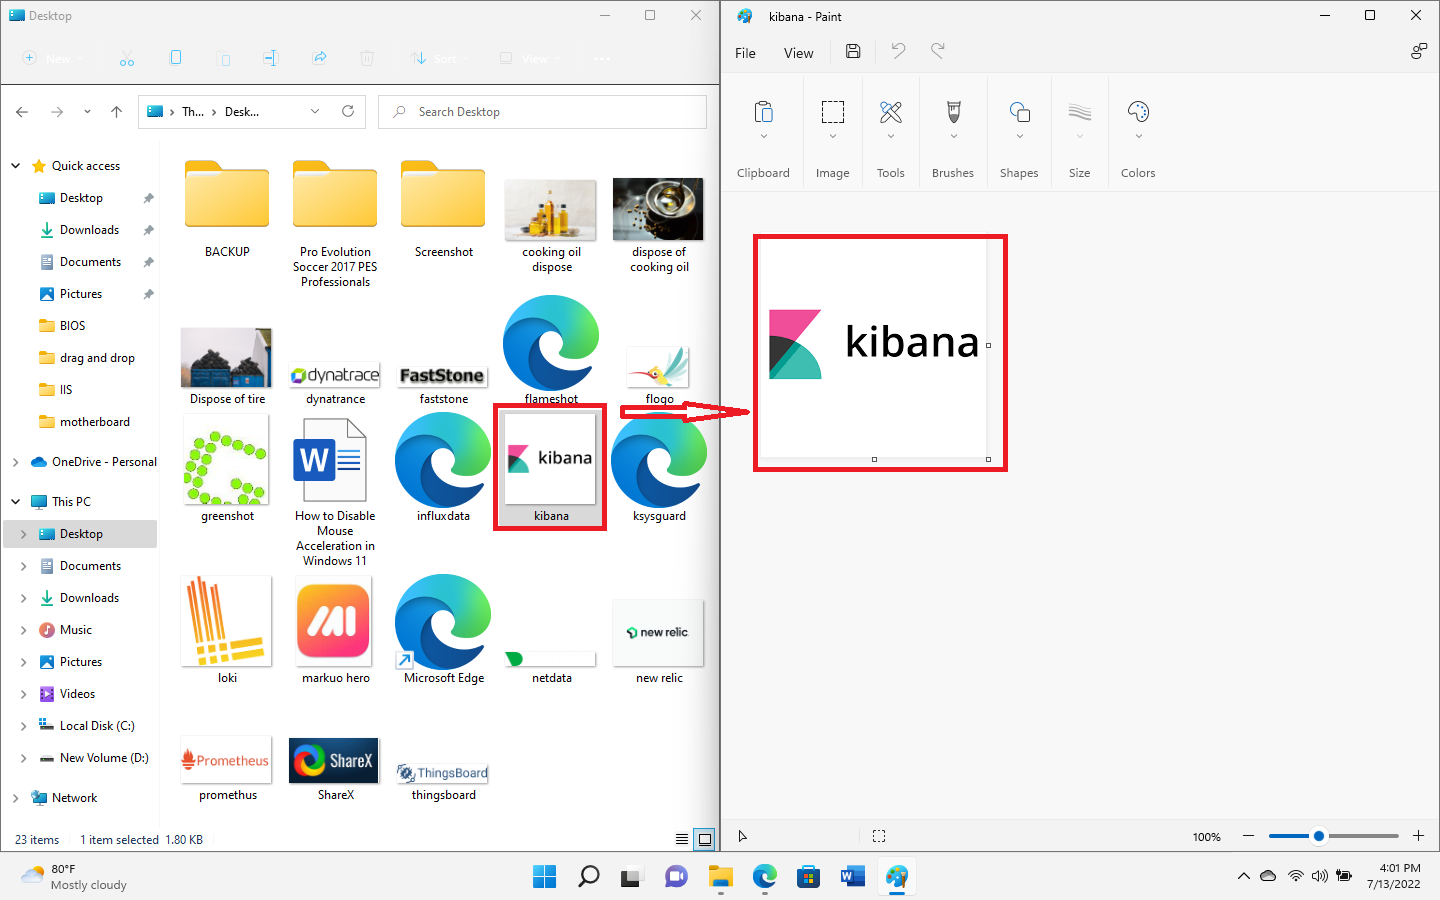
Another way to fix the drag and drop issue in Windows 11 is to use the split screen function. Split-screen is a Windows 11 feature that lets you open two or more windows side-by-side on the PC screen. You can drag and drop files between two folders or between a folder and an application. It can also help to maximize your productivity. Let's see how to do it below.:
- Open the first window of the two windows. It can be a folder or an app. Here we will be moving the Kibana logo (picture file)from the desktop to the paint app.
- Use the split-screen feature to split the PC screen into two. Read our post here on how to Spilt screen in Windows 11.

- When the two folders are active, click the file you want to move and hold the left click, then drag it to activate the drag mode.

- Drag the file across to the other window and release it at your desired location in the window.
Fix with the Registry Editor
You can also fix the drag and drop issue in windows 11 with the Registry Editor, but when you use this method, the Start button, the Search button, and Cortana will longer open from the taskbar. It will permanently disable the three icons though you will still see them in the taskbar, and you can launch them with shortcut keys.
However, follow the steps below if you still want to use this method.
- Press the Windows button + R to open the Registry Editor, type Regedit in the text field and click on OK.

- The system will seek permission to "make changes to your computer" by giving you two options in the "user account control" dialog box. Click on allow to continue.
- Follow the path below to locate the main version folder. Click on the arrow next to each folder below to expand it. You can also copy and paste the path into the address bar. Here is the path: HKEY_LOCAL_MACHINE\SOFTWARE\Microsoft\Windows\CurrentVersion\Shell \Update\Packages

- Click on the Packages folder, and its data will display on the right side of the window.
- Right-click on the right side of the window and hover the mouse pointer on New. Then, select DWORD (32-bit) Value from the context menu.

- You will see the new file you just created on the page. Change the name to UndockingDisabled.

- Double click on the new file you created and set the data value to 0. Select the Hexadecimal option in the base section and click OK.

- Close the Registry Editor and reboot your PC
Remember that this method will make the start button, search button, and Cortana inactive on your taskbar.
Conclusion
That is all on how to fix the drag and drop issue in Windows 11. You can also use third-party applications, but they can be more difficult to use and you may not need them since the options in this post are very effective and reliable.
You may also like to read:
How to Add or Remove "Open PowerShell Here" to context menu
How to Find WDDM Version in Windows
How do I clear the cache on my computer? (Easy methods)